Since this website is created with the Zola static site engine, and because storing large files in Git is bad for you, I needed a simple way to host images for this site. S3 fronted by a CDN seemed like a good choice for me, since I'm reasonably familiar with both options and they're ubiquitous. While trying different options, I remembered that Cloudflare R2 exists now.
Wow, it's cheap! Since it seems like I'll be able to run on the free tier indefinitely, and because they don't charge for outbound data transfer, this was a no-brainer. I had to try it! What I didn't expect was how easy everything was to set up!
Anyway, in this tutorial, we'll be working through the following steps:
-
Sign up for R2.
-
Create the bucket.
-
Enable public access.
-
Add some objects.
For my own setup, I used Terraform, but because most of the steps cannot currently be automated, I'll save the Terraform discussion for another article.
Prerequisites
To complete this tutorial successfully, you will need:
-
A Cloudflare account. Cloudflare is awesome, so if you don't have an account already, you should get one. Everything in this tutorial can be done on the free tier, but even so, you will also need...
-
A credit card. Cloudflare will not let you even look at R2 without entering payment details first. I guess it's easier to bill you the difference than it is to enforce the free tier limits themselves. Boo.
-
A domain proxied by Cloudflare. Cloudflare doesn't need to own your domain, but it must be acting as the nameserver, and it must having proxying enabled. If necessary, you can even delegate a subdomain and only have that subdomain proxied by Cloudflare. Either way, the domain must be proxied by Cloudflare.
-
A domain with CNAME flattening disabled. For any domain except the apex domain, this is the default, so unless you changed it, you should be fine.
Step 1: Sign up for R2
To access R2, go to the account-level view and click R2 in the sidebar. The first thing you'll hit is a paywall.
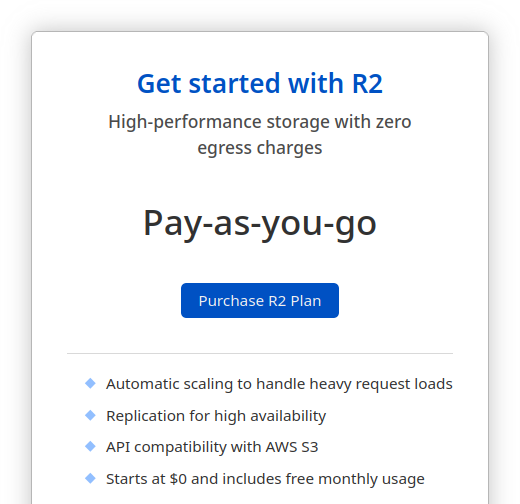
I'm guessing that they assume people trying R2 are already aware that S3 exists and know the benefits of it. Fine, but it's always disappointing when a company wants to be sure they can bill you for a service before you can be sure the service will be of any value to you.
This deterred me from trying R2 for quite some time before I finally got over it. In any case, the free tier is so generous that I'm unlikely to actually get billed for this any time soon, so I can't be too upset.
Go ahead and follow the on-screen prompts to sign up an R2 plan.
Step 2: Create the bucket
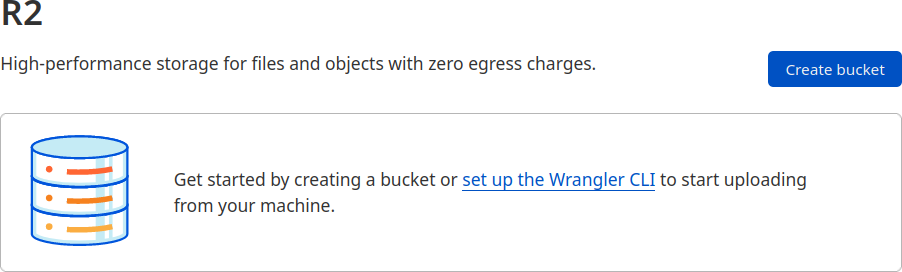
Hit Create bucket:
Enter a name for your bucket. Unlike other S3 implementations I've used, Cloudflare R2 has buckets namespaced by account ID, which means finding a valid bucket name isn't particularly difficult. I called my bucket brettops-assets:
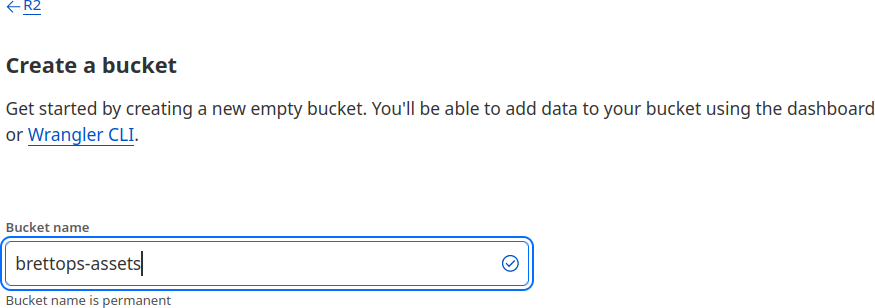
After you've chosen a name, scroll down and hit Create bucket at the bottom of the page.
And that's it. The bucket is now created, which you'll see on the R2 home page:

Step 3: Enable public access
In this section, we configure the bucket to be publicly accessible from your domain. This allows people to download your files!
Click your bucket's name to access the bucket details. Then click Settings, and then scroll down to Domain Access and click Connect Domain:

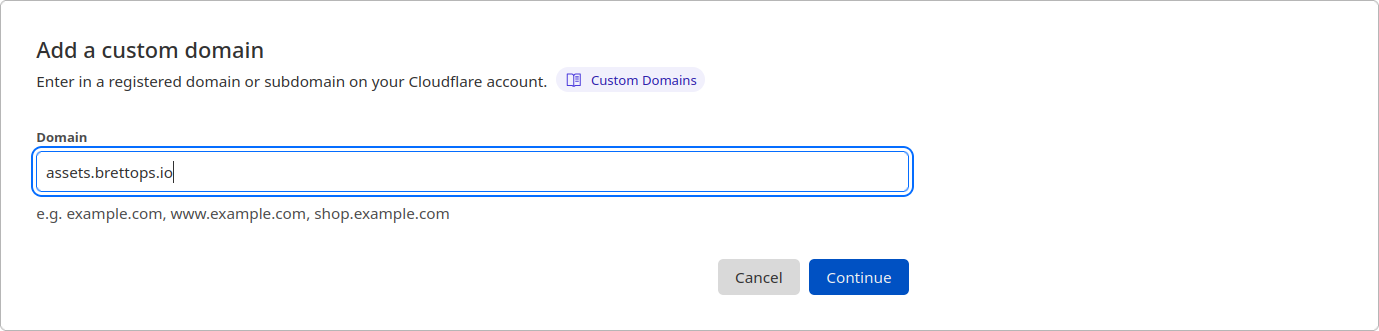
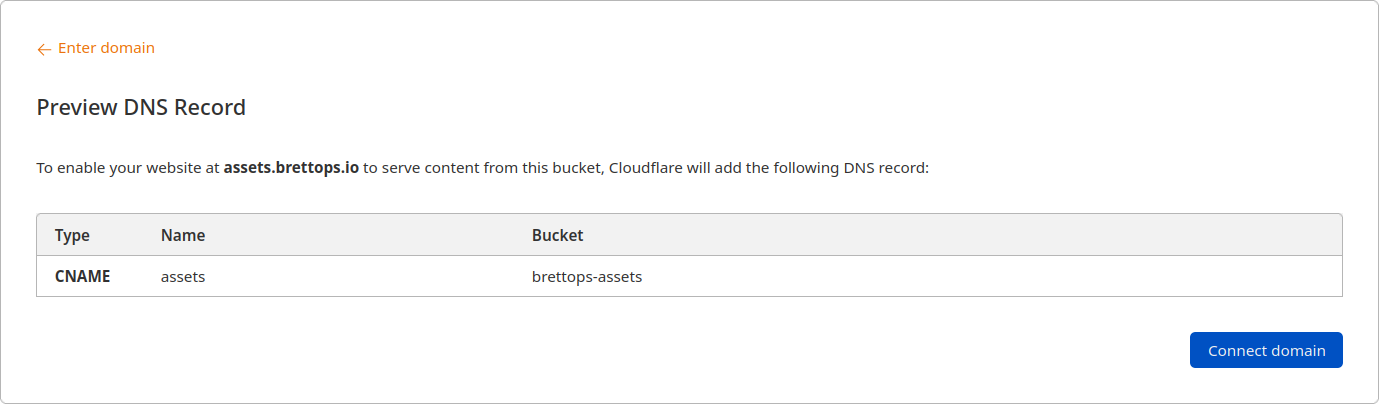
Type in the full domain you want to use. In my case, it's assets.brettops.io:
This creates a DNS entry for you. You may want to create this DNS entry manually so that you can manage it with Terraform, but you won't be able to because Cloudflare seems to do additional setup that you have no control over.
Click Connect domain to confirm:
And you're all set. You may need to wait a few minutes, but DNS updates tend to happen pretty fast in the Cloudflare network:
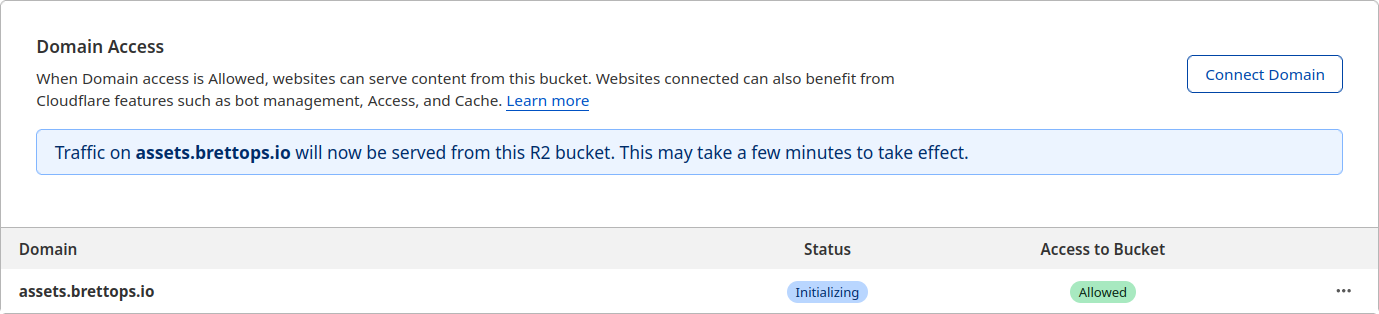
When the Status changes to Active, your bucket will be available at your domain:

You can tell it's working by visiting the domain. In my case, it's at assets.brettops.io.
If all goes well, you will see a 404 page. This is good. This means that your domain points to the Cloudflare R2 public bucket endpoint. It rejects your request because no object is served at the root URL:
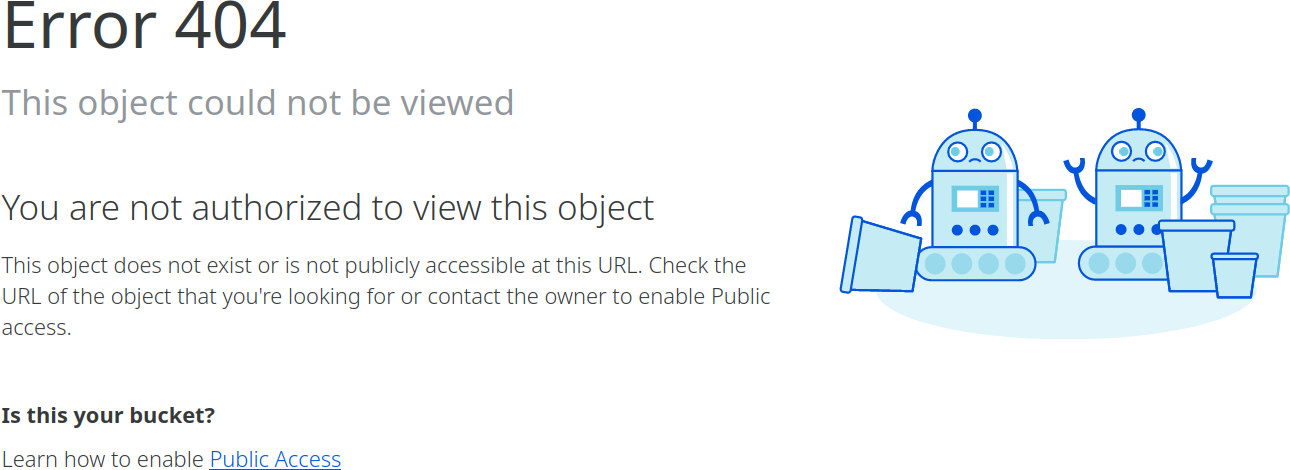
To see something more interesting, you need to upload your first image, which we'll do next.
Step 4: Add some objects
If you only have a handful of images to host somewhere, you can visit the Objects view and upload them here:
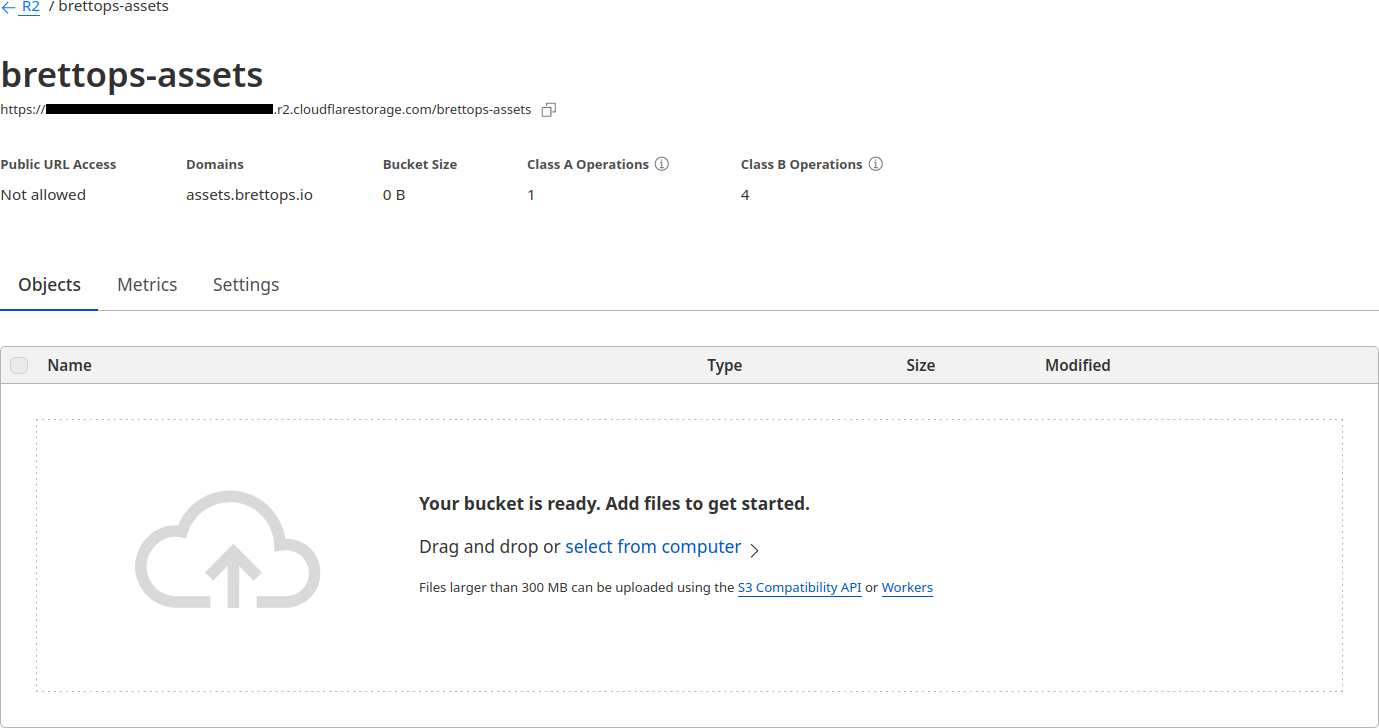
The UI is pretty barebones though, so you won't be able to rename files or add prefixes. For that, you'll need to use a command line tool like the MinIO client, which I'll discuss further in a future article.
In any case, it works! Here's an image I uploaded through the UI:
https://assets.brettops.io/bearded-reedling.svg
Conclusion
You may have noticed a large amount of images in this article. That's because, thanks to the steps in this tutorial, my blog now supports images!
The best part about this is that it requires almost zero configuration, and it generally inherits my Cloudflare zone settings. So things like compression, TLS, bot detection, etc. happen magically.
This is probably the easiest way that I've found to host static content and I believe this solution will hold up for some time before needing to revisit it.