Static sites are great. They're about the easiest way to publish a site, they cost next to nothing to start, and they can be scaled indefinitely. If your content doesn't change a lot and you don't need users to be able to modify it, a static site is a fantastic way to get things out the door and move on with your life.
However, as is usually the case with all things web-related, there are as many frameworks and libraries and tools to build a site as there are developers to come up with them, so there are always new tools that we haven't tried yet.
Zola has been great. It's fast like Hugo, but the documentation is slightly (very slightly) easier to understand, so it's winning on that front. But some difficulties with Zola are starting to become apparent the longer we use it:
-
Limited syntax highlighting options (though you can bring your own).
-
Tera macros in Zola are not documented and require trial and error to use.
-
Taxonomies are awkward and not really configurable.
-
Pages and sections aren't the same, which results in code duplication.
-
Integrating with NPM is hard and usually results in lots of scripting to get something working.
-
The Sass implementation failed on some projects in the past (though we haven't tried again recently).
-
We can't figure out the search feature. ¯\_(ツ)_/¯
Many of these issues are not unique to Zola, by the way. But for these reasons, we got curious about what other static site generators exist, and eventually landed on Eleventy.
Tailwind CSS has been on the radar for some time now, too, but we've never really sat down to do anything with it.
In today's post, we're going to dive into Eleventy and Tailwind CSS, try them out, get them to play nicely with each other, and see if they're worth the hype.
Prerequisites
-
A GitLab account with SSH key configured.
-
Node.js installed on your local machine, with
npmavailable in the path. -
Make is recommended, but not required.
Set up Eleventy
We'll start off by setting up Eleventy. We'll be loosely following the Eleventy Getting Started page, but modifying it for our needs as we go.
To get started, create a new project on GitLab, then clone it to your local machine. Our repo is called eleventy-tailwind-site:
git clone [email protected]:brettops/examples/eleventy-tailwind-site.git
cd eleventy-tailwind-site/
git switch -C main
$ git clone [email protected]:brettops/examples/eleventy-tailwind-site.git
Cloning into 'eleventy-tailwind-site'...
warning: You appear to have cloned an empty repository.
$ cd eleventy-tailwind-site/
$ git switch -C main
Switched to a new branch 'main'
Run the following command to install Eleventy:
npm install @11ty/eleventy --save-dev
$ npm install @11ty/eleventy --save-dev

added 208 packages, and audited 209 packages in 5s

38 packages are looking for funding
  run `npm fund` for details

found 0 vulnerabilities
The above command will create a package.json file and a package-lock.json
file. The package.json should look similar to the following:
{
  "devDependencies": {
    "@11ty/eleventy": "^2.0.1"
  }
}
The command will also add a node_modules/ directory, which we should add to a
.gitignore ASAP:
echo 'node_modules/' >> .gitignore
At this point, you should be able to run Eleventy. Start by checking what version you have:
npx @11ty/eleventy --version
$ npx @11ty/eleventy --version
2.0.1
At the time of writing, the latest is 2.0.1, so if your version is newer than
that (or probably older too), it should work fine.
You can build your (currently empty) site by running the command with no arguments:
npx @11ty/eleventy
$ npx @11ty/eleventy
[11ty] Wrote 0 files in 0.01 seconds (v2.0.1)
For development, we'll use the local development server, which will reload your
pages whenever you make changes to them. This is enabled with the --serve
flag:
npx @11ty/eleventy --serve
$ npx @11ty/eleventy --serve
[11ty] Wrote 0 files in 0.02 seconds (v2.0.1)
[11ty] Watching…
[11ty] Server at http://localhost:8080/
Navigate with your browser to http://localhost:8080 to see your empty site,
which will respond with Cannot GET /:
Cannot GET /
The above appears because we don't have any content yet. Now comes the fun part of making your own words appear on the page.
Add pages to the site
Eleventy works with template files. Let's see how it works.
Create an index.html file in the root directory of your project and add some
HTML to it:
touch index.html
<!-- index.html -->
<!doctype html>
<title>My cool bloggosite</title>
<p>Hello internet</p>
If you were watching, the first thing you'll notice is that Eleventy immediately starts picking up our changes and starts serving them:
$ npx @11ty/eleventy --serve
[11ty] Wrote 0 files in 0.02 seconds (v2.0.1)
[11ty] Watching…
[11ty] Server at http://localhost:8080/
[11ty] File added: index.html
[11ty] Writing _site/index.html from ./index.html (liquid)
[11ty] Wrote 1 file in 0.02 seconds (v2.0.1)
[11ty] Watching…
[11ty] File changed: index.html
[11ty] Writing _site/index.html from ./index.html (liquid)
[11ty] Wrote 1 file in 0.01 seconds (v2.0.1)
[11ty] Watching…
But we don't have to trust this output. If you visit the site, you'll see the following:
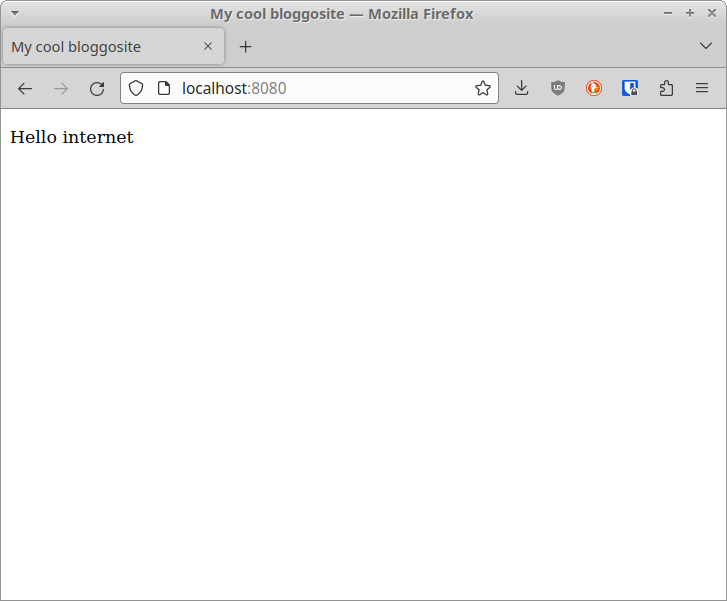
This is pretty great, as it means that Eleventy is not opinionated about where your HTML files are located by default.
You'll also notice that a _site/ directory gets created in the project root.
This directory contains the rendered site, so we definitely need to add it to
.gitignore:
echo '_site/' >> .gitignore
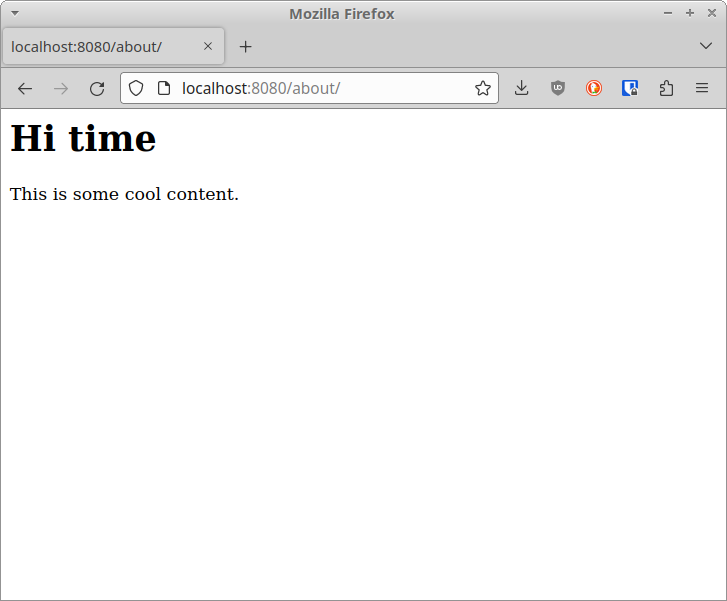
Now create another file called about.md and add some Markdown text:
<!-- about.md -->

# Hi time

This is some cool content.
Let's check out the Eleventy log:
...
[11ty] Watching…
[11ty] File changed: about.md
[11ty] Writing _site/index.html from ./index.html (liquid)
[11ty] Writing _site/about/index.html from ./about.md (liquid)
[11ty] Wrote 2 files in 0.02 seconds (v2.0.1)
[11ty] Watching…
Eleventy has found the Markdown file we added and is serving it too. That's pretty great! And, and, and, if you navigate to http://localhost:8080/about/, you should see the new text:
The site is looking rock-solid so far (really, A+ work), but we need to spice it up with some styles. We'll do that in the next section.
Set up Tailwind CSS
In terms of CSS frameworks, we usually just throw Bootstrap into the mix. It's easy and well-understood and has been around forever, so everything supports it. However, we've been hearing a lot of murmuring about Tailwind CSS being amazing, and we wanted to see what all the fuss is about.
So, let's live dangerously and use Tailwind today. Our instructions here are based on the Tailwind Installation page, but adapted to our use case.
The first thing we do is install it:
npm install tailwindcss --save-dev
$ npm install tailwindcss --save-dev

added 41 packages, and audited 250 packages in 3s

45 packages are looking for funding
  run `npm fund` for details
The next step is to create a tailwind.config.js file. Tailwind has a
tailwindcss CLI to accomplish this:
npx tailwindcss init
The new tailwind.config.js has the following contents:
// tailwind.config.js
/** @type {import('tailwindcss').Config} */
module.exports = {
  content: [],
  theme: {
    extend: {},
  },
  plugins: [],
};
We'll add a new rule to the content field to tell Tailwind about our content
files that live in the root directory:
// tailwind.config.js
/** @type {import('tailwindcss').Config} */
module.exports = {
  content: ["./*.{html,md}"],
  theme: {
    extend: {},
  },
  plugins: [],
};
This rule tells Tailwind to watch all .html and .md files for Tailwind CSS
classes that might be in use. If it spots a new class, it will trigger a rebuild
of the Tailwind CSS. This allows Tailwind to include only classes that are
actually used in the final CSS file. Everything else gets tossed out, keeping
the download size small, which is one of the coolest things about Tailwind.
Now create a source style.css file with the following contents:
/* style.css */
@tailwind base;
@tailwind components;
@tailwind utilities;
Tailwind can now be started with the --watch flag:
npx tailwindcss -i style.css -o style.out.css --watch
The above command will re-build the final CSS file every time new Tailwind
classes are detected in our HTML or Markdown files in the root directory (which
we configured in the tailwind.config.js file).
The names of the CSS files are arbitrary, but we called the output file
style.out.css so that we can easily add *.out.css to our .gitignore file:
echo '*.out.css' >> .gitignore
When you run the command, you'll be hit with a warning about no Tailwind classes. There aren't any CSS classes in the HTML or Markdown files, so this warning is normal:
$ npx tailwindcss -i style.css -o style.out.css --watch

Rebuilding...

warn - No utility classes were detected in your source files. If this is unexpected, double-check the `content` option in your Tailwind CSS configuration.
warn - https://tailwindcss.com/docs/content-configuration

Done in 127ms.
We'll integrate Tailwind with Eleventy in the next section.
Integrate Tailwind with Eleventy
To get Eleventy to care about our CSS (and copy it to the finished site), there
are a couple approaches we can take, which are documented on Eleventy's
website. The easiest is the
addPassthroughCopy approach, so we'll create an .eleventy.js file and add
the following:
// .eleventy.js
module.exports = function (eleventyConfig) {
  eleventyConfig.addPassthroughCopy({
    "style.out.css": "style.css",
  });
};
The above tells Eleventy to copy Tailwind's generated style.out.css to
style.css in the _site directory on every update.
For this to take effect for the first time, you'll need to stop Eleventy with Ctrl+C and start it again:
[11ty] Wrote 2 files in 0.01 seconds (v2.0.1)
[11ty] Watching…
^C
$ npx @11ty/eleventy --serve
[11ty] Writing _site/about/index.html from ./about.md (liquid)
[11ty] Writing _site/index.html from ./index.html (liquid)
[11ty] Copied 1 file / Wrote 2 files in 0.05 seconds (v2.0.1)
[11ty] Watching…
[11ty] Server at http://localhost:8080/
If you look inside the _site directory, you'll now see a style.css file
ready to go:
$ tree _site/
_site/
├── about
│   └── index.html
├── index.html
└── style.css

1 directory, 3 files
The final steps to see a splash of color are to:
-
add a more complete template for our home page,
-
link the generated CSS file, and
-
add some Tailwind classes.
Here's an example template to accomplish the above:
<!-- index.html -->
<!doctype html>
<html>
<head>
<meta charset="utf-8" />
<meta name="viewport" content="width=device-width, initial-scale=1.0" />
<title>My cool bloggosite</title>
<link href="{{ '/style.css' | url }}" rel="stylesheet" />
</head>
<body>
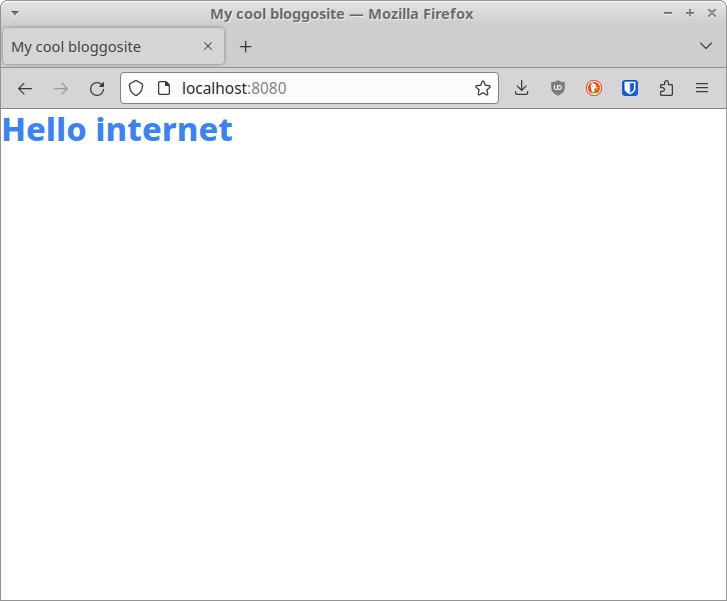
<p class="text-3xl font-extrabold text-blue-500">Hello internet</p>
</body>
</html>
This will render into the following:
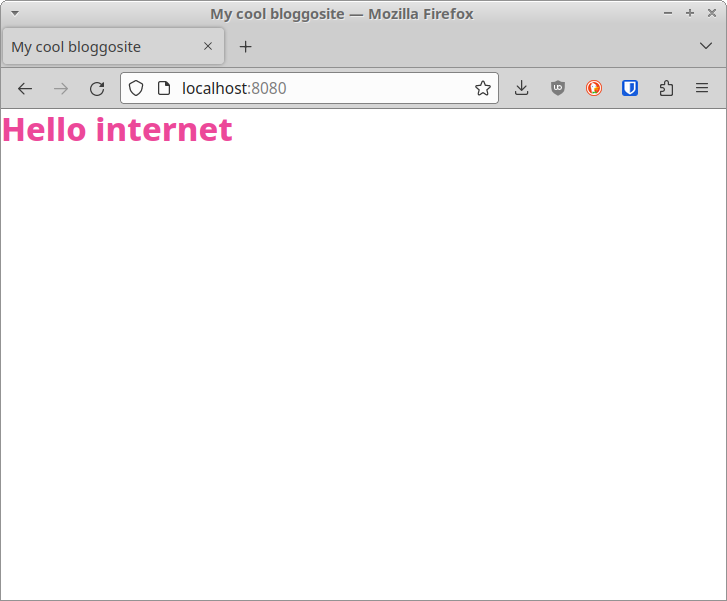
For fun, try changing the class text-blue-500 to text-pink-500. When you do,
you should see the change almost immediately, without having to reload the page:
The site is looking pretty darn fresh now, if I do say so myself.
Watch ignored files
We found out the hard way that Eleventy ignores paths defined in our
.gitignore file by default.
Since Tailwind, Sass, and other tools generate outputs to be used by Eleventy
that should otherwise not be committed, this default will make using those tools
problematic.
Eleventy allows us to turn off this
behavior, which
will allow us to create an .eleventyignore file to manage filesystem watching
ourselves.
To do so, we add the following to our .eleventy.js file:
// .eleventy.js
module.exports = function (eleventyConfig) {
  eleventyConfig.setUseGitIgnore(false);
  // ...
};
Then we create an .eleventyignore file with the following contents:
# .eleventyignore
node_modules/
_site/
This leaves off *.out.css, so it will continue to be monitored by Eleventy.
Add a Makefile (optional)
For this, you'll need to have Make installed.
You can add the both Eleventy's and Tailwind's live-reload commands to a
Makefile to make your life easier. Create a makefile and add the following:
# makefile
all: tailwindcss eleventy

tailwindcss:
	npx tailwindcss -i style.css -o style.out.css --watch

eleventy:
	npx @11ty/eleventy --serve
With the above Make targets in place, you can set up your development server
with a simple make -j:
make -j
Deploy to GitLab Pages (optional)
If you're on GitLab, it's very easy to turn any project into its own static site.
Create a .gitlab-ci.yml file to start:
touch .gitlab-ci.yml
Add the following to start:
-
Some stage declarations.
-
The
pagespipeline.
# .gitlab-ci.yml
stages:
  - test
  - build
  - deploy

include:
  - project: brettops/pipelines/pages
    file: include.yml
This next part is a little custom since we're using Eleventy for the first time.
We're essentially taking the commands inside our makefile, and formatting them
into the CI YAML file. Add the following to your .gitlab-ci.yml file:
# .gitlab-ci.yml
# ...
eleventy-build:
  stage: build
  image: ${CONTAINER_PROXY}node:lts-bullseye
  script:
    - npm install
    - npx tailwindcss -i style.css -o style.out.css
    - npx @11ty/eleventy
    - >-
      npx @11ty/eleventy
      --pathprefix /examples/eleventy-tailwind-site
      --output public
  artifacts:
    paths:
      - public
You must change the --pathprefix line for your project, as it is specific
to your GitLab project:
--pathprefix /examples/eleventy-tailwind-site
Our example site publishes to
https://brettops.gitlab.io/examples/eleventy-tailwind-site, which is why the
--pathprefix option is set to /examples/eleventy-tailwind-site. You can read
more about --pathprefix in the Eleventy Configuration
docs
We also change --output, which defaults to _site, to public, because this
is what the pages pipeline
expects.
Epilogue by Brett
This setup required more work than we expected, and there were more than a few pitfalls, but the end result has definitely been worth it.
I've been using static site generators written in languages other than JavaScript for a long time, so I had no idea what I was missing out on. It turns out that the impedance mismatch of trying to do client-side web things in a language other than JavaScript is real. Using resources pulled straight from NPM was so easy. On top of that, Eleventy really does feel fast, and really does get out of your way until you need it to do something special.
Tailwind is pretty awesome, too, so far. I don't like that their component library is paywalled, because it seems like they don't want me to use their library. However, once you get your bearings, everything feels so smooth, the re-build step is faster than I would expect (for Eleventy as well as Tailwind), and watching the CSS payload quietly vary in size according to usage is very pleasant.
I suspect that we're going to be using this Eleventy / Tailwind combo quite a bit more often going forward.